Technology & image quality
Resolution in iris photography
'Is the resolution enough for 80 × 80 centimetres?' cannot be answered with a pixel count. What matters is how much genuine image information those pixels carry.
Short answer
Pixel dimensions determine how large you can print, not how well. For an iris image the result depends on the magnification at capture, the sharpness on the iris plane and the output size. A square 4096 × 4096 pixel file covers common formats well into large-print territory, as long as the detail came from the capture rather than from upscaling.
Pixels, dpi and print size
A file has pixel dimensions — for example 4096 × 4096. A dpi value is not a property of the image information; it is an instruction to the output device about how many pixels to place per inch. The same file can be a 20-centimetre print at high density or a 100-centimetre print at lower density.
The maths: pixels divided by the desired density gives the edge length in inches. 4096 pixels at 300 dpi is about 34.7 centimetres; the same file at 150 dpi is about 69 centimetres.
| Use | Typical viewing distance | Sensible density |
|---|---|---|
| Screen and social media | 40–70 cm | Pixel size decides; dpi is irrelevant |
| Small print up to 30 cm | 30–50 cm | 300 dpi |
| Wall piece 50–70 cm | 80–150 cm | 150–200 dpi |
| Large format from 100 cm | from 150 cm | 100–150 dpi |
Important
These are working figures, not standards. The real maximum depends on the printing process, the material, and how close viewers get — and with an iris image, they get close.
Viewing distance beats pixel count
The eye resolves far less detail at one metre than at 30 centimetres, which is why large prints tolerate lower pixel density — they are seen from further away.
Iris images are a partial exception. They invite people to step closer: clients walk up to their own eye and look for structures. Planning at the upper end of the usual density range is therefore reasonable.
Real information versus interpolation
Where the information is created
The decisive number is set at capture: how many sensor pixels does the iris actually occupy? If the iris fills an eighth of the frame width, even a 45-megapixel body delivers only a fraction of those pixels for the iris itself. Magnification and sharpness on the iris plane determine usable information — not the sensor resolution of the body.
What upscaling can and cannot do
Interpolation enlarges an image by calculating new pixels between existing ones. That produces a larger file and, with good algorithms, clean edges. It produces no additional detail: a fibre not resolved in the original does not appear after enlargement.
Methods that 'add' detail invent plausible-looking structure. On a biometric pattern like the iris that is a change of content rather than an increase in quality — see AI in iris photography.
Common mistake
Upscaling a 1200-pixel file to 4096 and selling it as a '4K iris image' is obvious at 100 percent view: the fibres look soft and painted while the edge stays crisp.
Why square, and why 4096 pixels
An isolated iris is circular, so a square output wastes the least area and works for wall pieces, prints and screens without re-cropping.
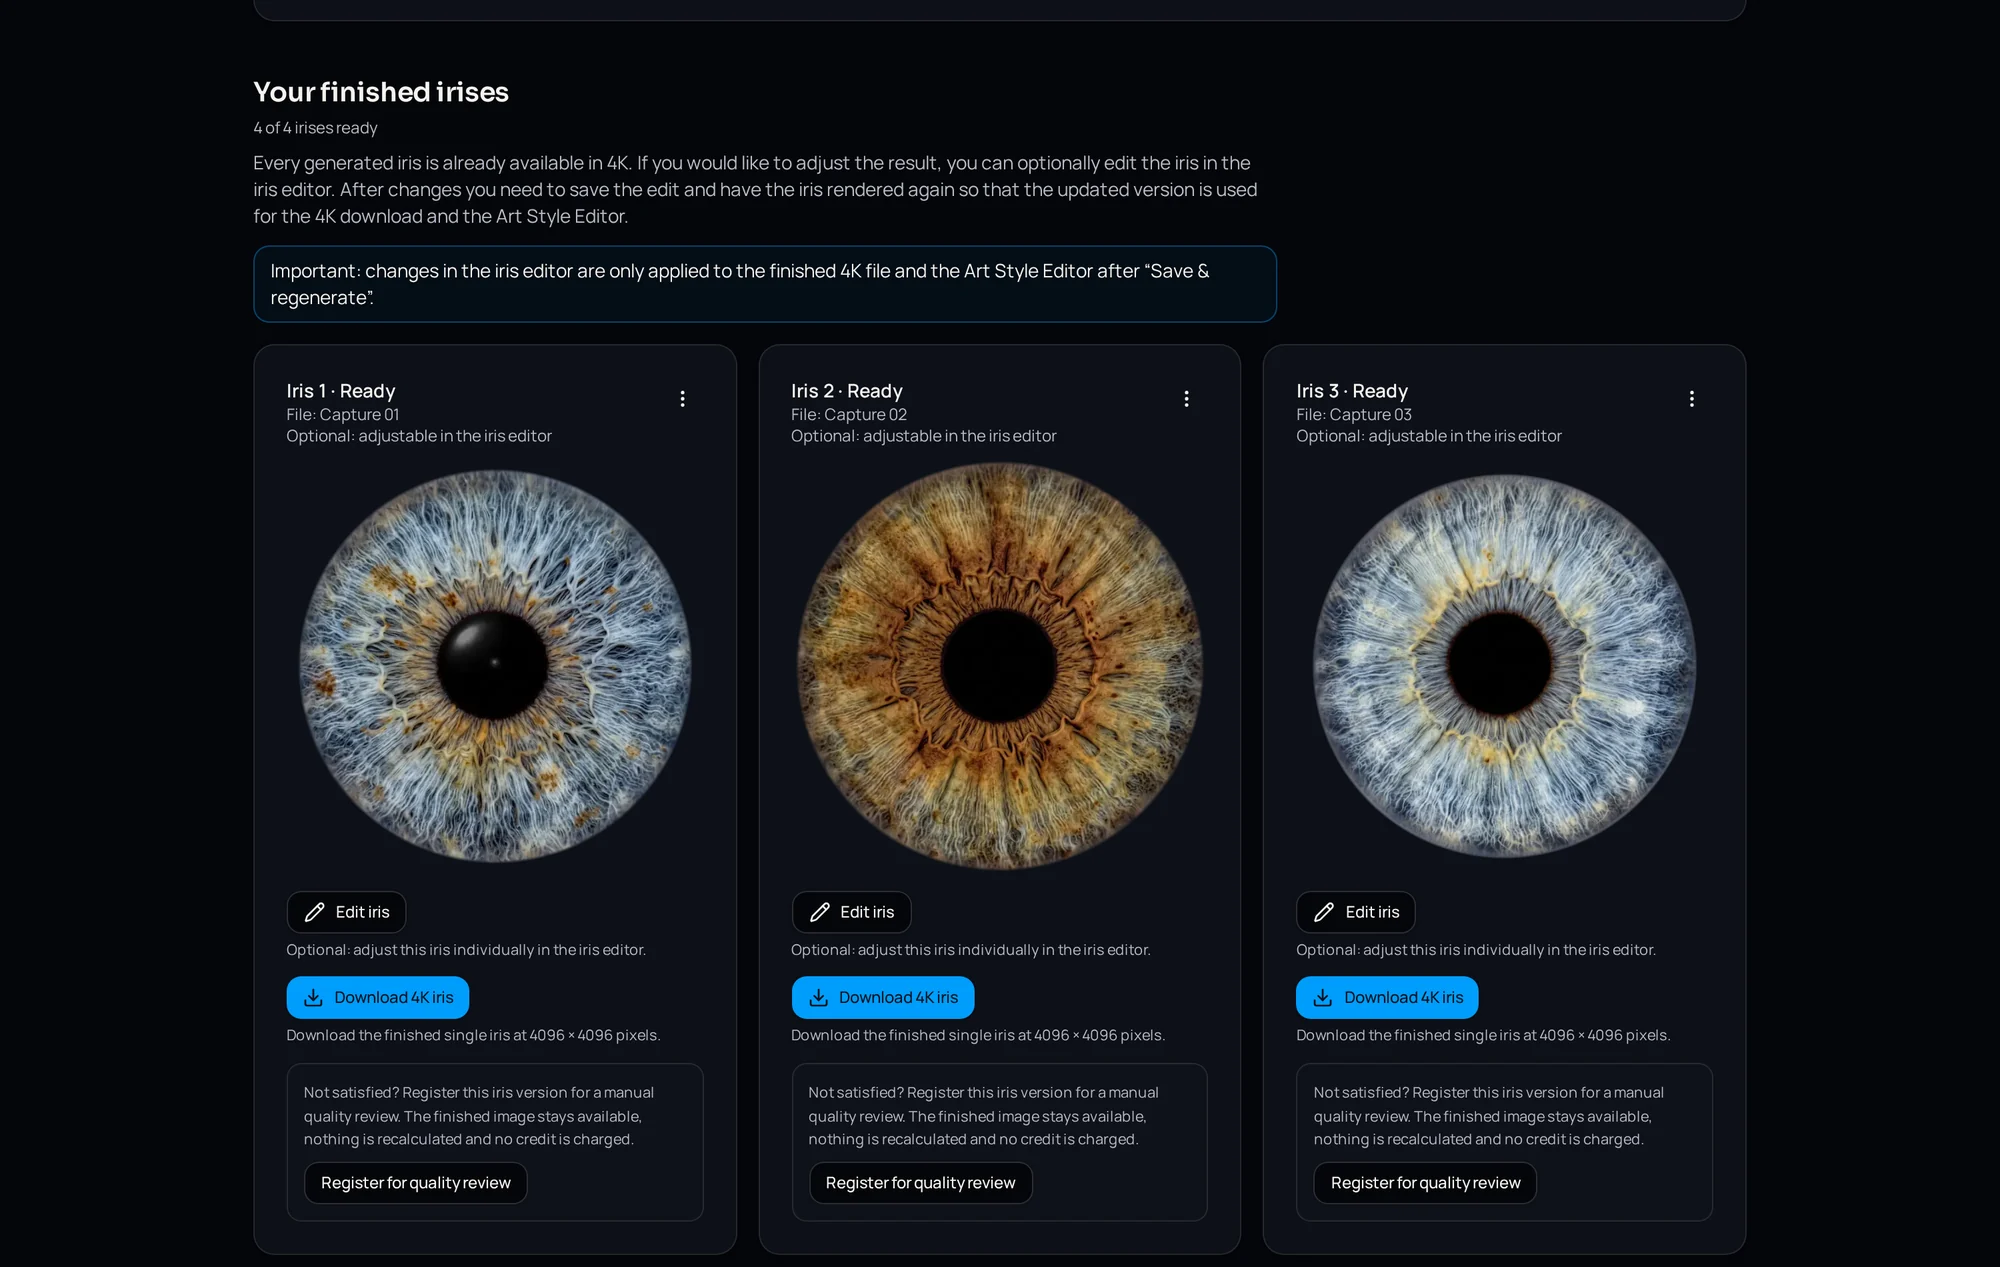
IRISORA outputs every prepared iris at 4096 × 4096 pixels. That is a deliberate compromise: large enough for big prints at normal viewing distance, small enough to stay manageable in storage, transfer and further editing.
What matters is where those pixels come from. A soft iris does not become sharp at 4096 pixels — it becomes large.
Resolution for screen and social media
For previews, websites and social posts the 4K file is unnecessarily large. Separate output files make sense: one large for print, one small for viewing. That saves transfer time and prevents a print file from ending up online by accident.
For social media, 1080 to 2048 pixels per edge is usually enough. More important than the pixel count is compression: fine iris structure suffers visibly under heavy JPEG compression.
Talking about resolution with clients
- Argue in formats, not pixel counts
- Start from the largest planned format and work backwards
- Say honestly when a capture will not carry a requested size
- Plan for reorders by archiving the transparent master
- Avoid promising absolute maximum sizes — they depend on capture, material and process
Frequently asked questions
- How large can I print a 4096 × 4096 pixel file?
- About 34.7 centimetres per edge at 300 dpi, about 69 centimetres at 150 dpi. Larger formats are possible at greater viewing distances, depending on capture quality, material and printing process.
- Does a higher-megapixel camera automatically give better iris images?
- Only if the magnification is right. An iris that sits small in the frame yields few usable pixels regardless of sensor resolution. Getting closer and focusing precisely on the iris plane helps more than a new body.
- Is 300 dpi always required?
- No. 300 dpi is a guideline for viewing at reading distance. Wall pieces seen from over a metre are routinely printed at lower densities without anyone noticing.
Related reading
Check output size on your own file
See what a prepared iris looks like at 4096 × 4096 pixels — at 100 percent, not as a preview. Five free edits included.
5 free iris edits included